Screenshot
Espresso สามารถทำการจับภาพหน้าจอด้วยคลาส ScreenCapture
ทดลองใช้งานโดยการเพิ่มโค้ดเข้าไปใน Test case อันไหนก็ได้
ScreenCapture capture = Screenshot.capture();
capture.setFormat(Bitmap.CompressFormat.PNG);
capture.setName("example");
capture.process();
จะได้ Error ว่า ขาด permission
ดังนั้นต้องทำการเพิ่ม permission ในการเขียนไฟล์ ให้ด้วย
    @Rule
    public GrantPermissionRule permission = GrantPermissionRule.grant(
            android.Manifest.permission.WRITE_EXTERNAL_STORAGE);
โค้ดทั้งหมด เมื่อใส่ครบแล้ว
@RunWith(AndroidJUnit4.class)
public class ExampleUITest {

    @Rule
    public ActivityTestRule<MainActivity> mActivityRule = new ActivityTestRule(MainActivity.class, false, false);
    @Rule
    public GrantPermissionRule permission = GrantPermissionRule.grant(
            android.Manifest.permission.WRITE_EXTERNAL_STORAGE,
            android.Manifest.permission.READ_EXTERNAL_STORAGE);

    private MockWebServer server;

    @Before
    public void setUp() throws Exception {
        server = new MockWebServer();
        server.start();

        LoginAPIEndpoint.BASE_URL = server.url("/").toString();
    }

    @Test
    public void exampleUITest() throws Exception {
        server.enqueue(new MockResponse().setResponseCode(200));

        Intent intent = new Intent();
        mActivityRule.launchActivity(intent);

        onView(withId(R.id.username)).perform(typeText("username"));
        onView(withId(R.id.password)).perform(typeText("password"));
        onView(withId(R.id.login_button)).perform(click());

        onView(withId(R.id.welcome_text)).check(matches(withText("Welcome!")));

        ScreenCapture capture = Screenshot.capture();
        capture.setFormat(Bitmap.CompressFormat.PNG);
        capture.setName("example");
        capture.process();
    }

    @After
    public void teardown() throws IOException {
        server.shutdown();
    }
}
เมื่อรันเทสเสร็จ จะมีภาพหน้าจอ บันทึกอยู่ใน internal storage ที่ path
/Pictures/screenshot
Test name
ชื่อของไฟล์รูปยัง harcode ไว้เป็น example อยู่ เราสามารถเอาชื่อของ test case ใช้ได้โดยการเพิ่ม Rule นี้เข้าไป
 @Rule
 public TestName testName = new TestName();
และตรงในส่วนของ Screenshot ใช้ชื่อ method name แทน
ScreenCapture capture = Screenshot.capture();
capture.setFormat(Bitmap.CompressFormat.PNG);
capture.setName(testName.getMethodName());
capture.process();
โค้ดทั้งหมด หลังจากเปลี่ยนเป็น method name
@RunWith(AndroidJUnit4.class)
public class ExampleUITest {

    @Rule
    public ActivityTestRule<MainActivity> mActivityRule = new ActivityTestRule(MainActivity.class, false, false);
    @Rule
    public GrantPermissionRule permission = GrantPermissionRule.grant(
            android.Manifest.permission.WRITE_EXTERNAL_STORAGE,
            android.Manifest.permission.READ_EXTERNAL_STORAGE);

    @Rule
    public TestName testName = new TestName();

    private MockWebServer server;

    @Before
    public void setUp() throws Exception {
        server = new MockWebServer();
        server.start();

        LoginAPIEndpoint.BASE_URL = server.url("/").toString();
    }

    @Test
    public void exampleUITest() throws Exception {
        server.enqueue(new MockResponse().setResponseCode(200));

        Intent intent = new Intent();
        mActivityRule.launchActivity(intent);

        onView(withId(R.id.username)).perform(typeText("username"));
        onView(withId(R.id.password)).perform(typeText("password"));
        onView(withId(R.id.login_button)).perform(click());

        //Thread.sleep(5000);
        onView(withId(R.id.welcome_text)).check(matches(withText("Welcome!")));

        ScreenCapture capture = Screenshot.capture();
        capture.setFormat(Bitmap.CompressFormat.PNG);
        capture.setName(testName.getMethodName());
        capture.process();
    }

    @After
    public void teardown() throws IOException {
        server.shutdown();
    }
}
เมื่อรันเสร็จ ชื่อไฟล์ใน Emulator จะเปลี่ยนไป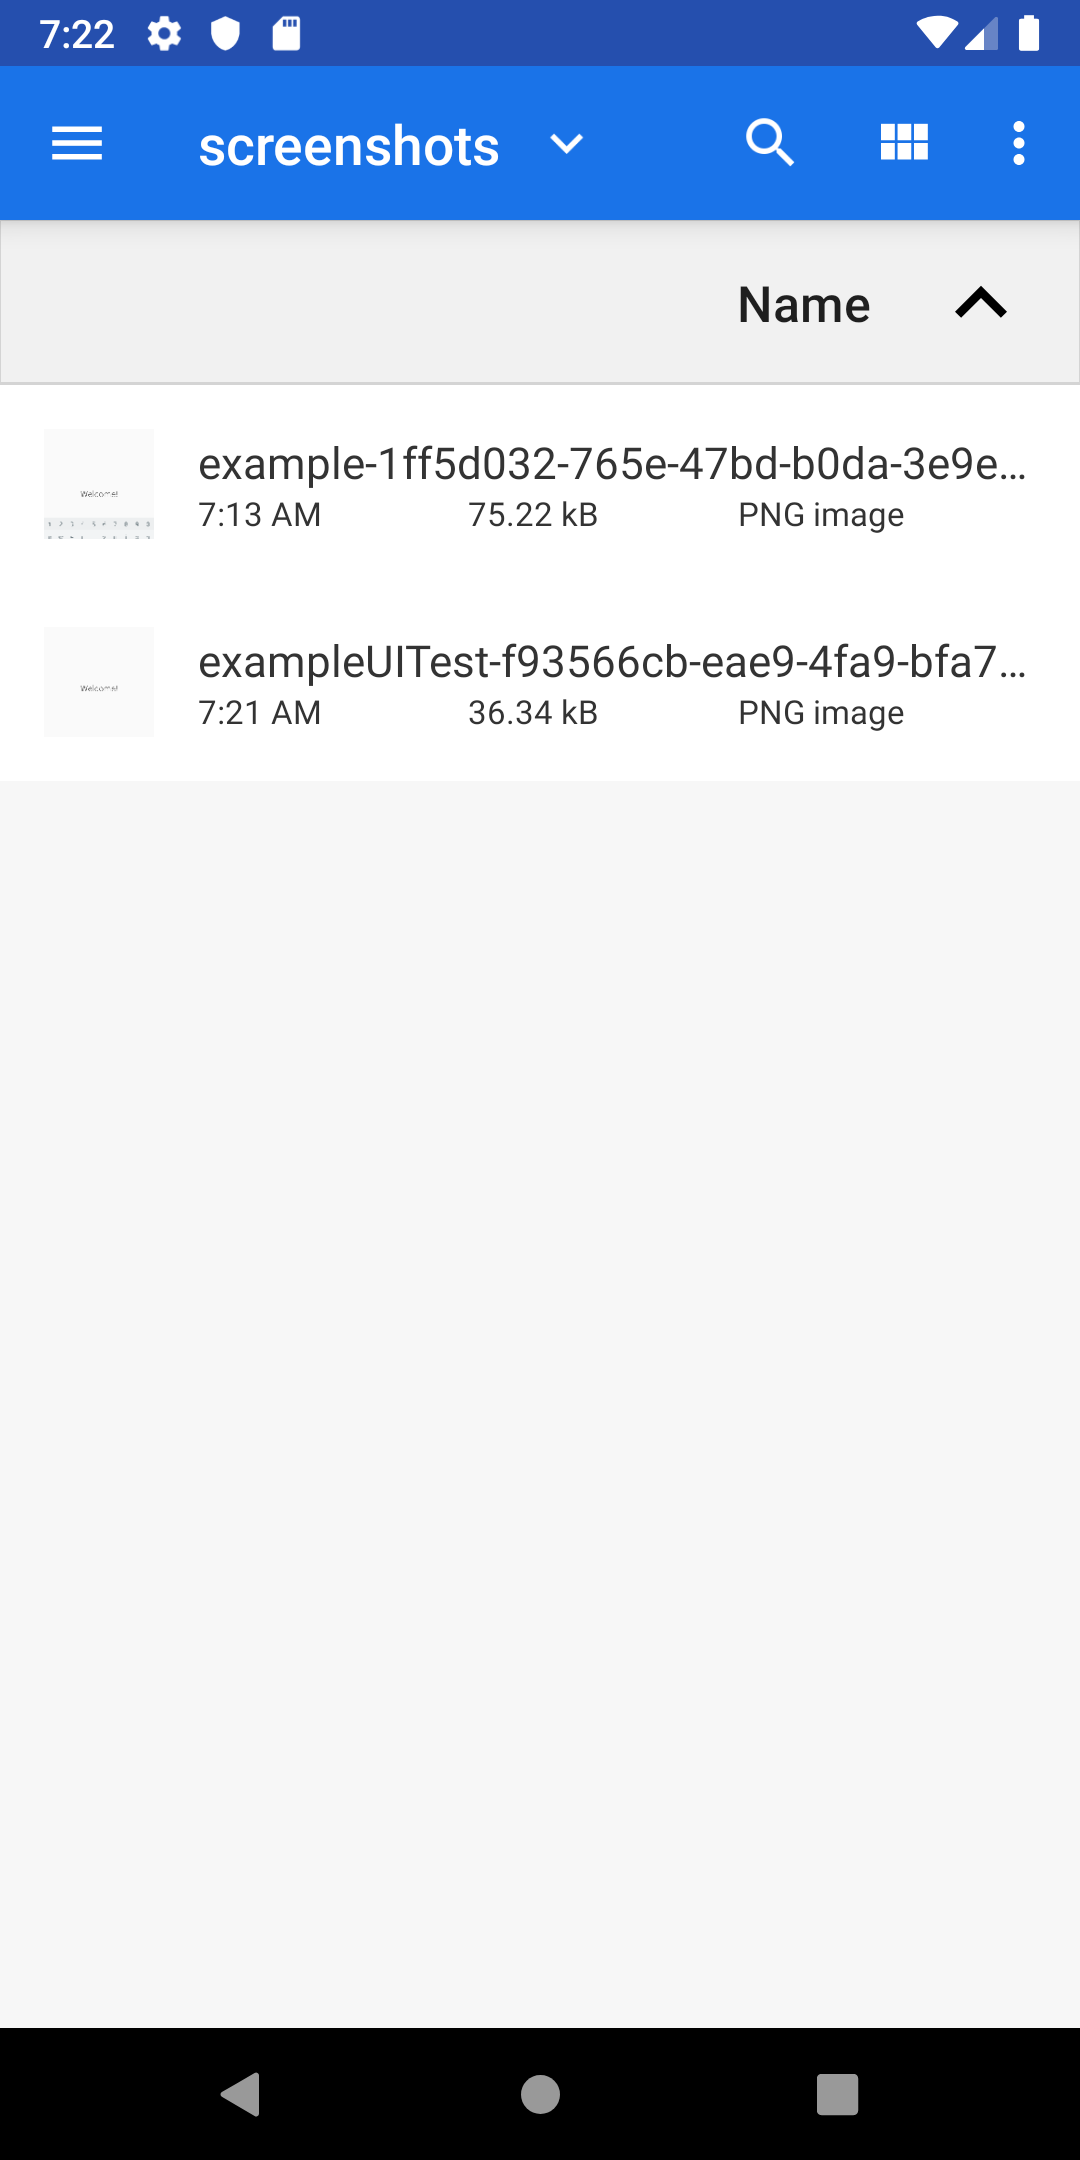
เราสามารถดึงรูปภาพออกมาได้ด้วยการพิมพ์คำสั่งใน terminal
adb pull /storage/emulated/0/Pictures/screenshots .